We see many options and examples of Text Effect in Photoshop. In this tutorial I will share that how to create text effect by using any background.
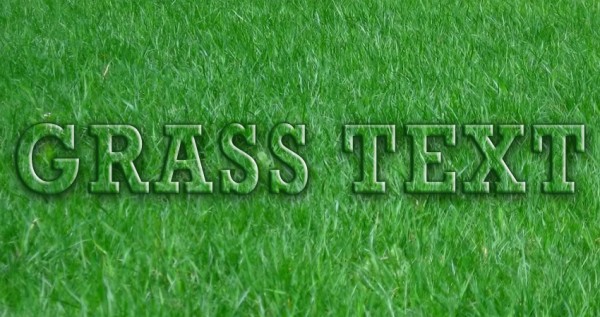
Here I have this image of grass and I am going to create text effect on it as you can see in the image below.
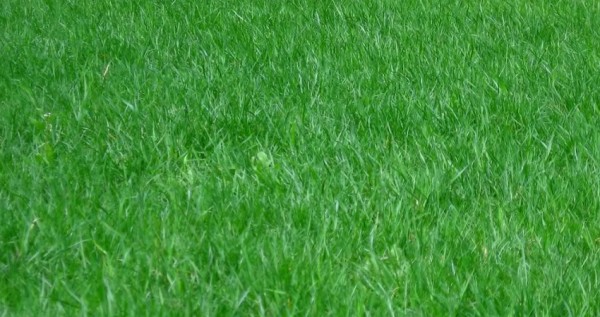
First settle down on an image. I selected the image below.
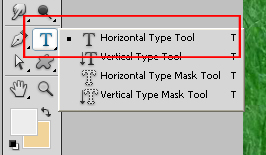
Go to tool bar and select the Type Tool. You can use shortcut also just Press T key on your keyboard.
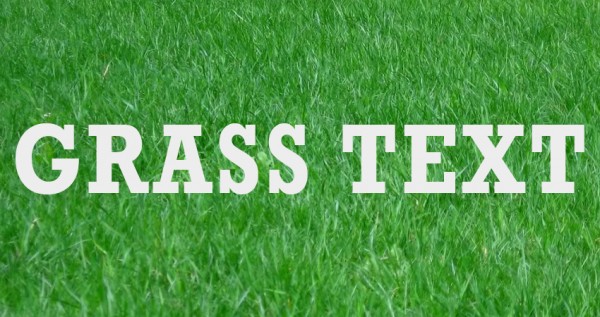
Then type in the text which you want. Make sure to have the text big sized and bold. If you take smaller fonts, the text effect may not show up properly.
We have one image and two layers. One is the background or the grass layer. The other one is the text layer.
Creating Grass Effect to the text.
- First select the background image layer and duplicate the layer.
- For duplicating the layer just select the background layer and right-click on the layer in layer palate.
- You can see this palate and click on duplicate layer. (You can also use shortcut for this one just press Ctrl+J.)
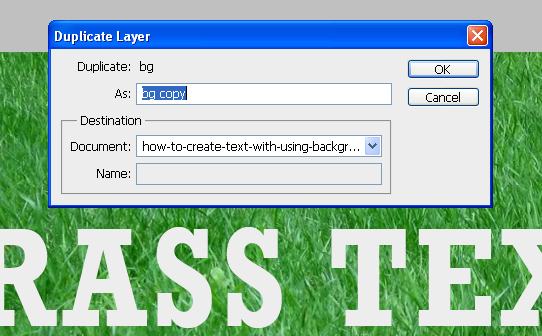
- A box will pop to prompt you to duplicate the background layer as a copy. Click on OK.
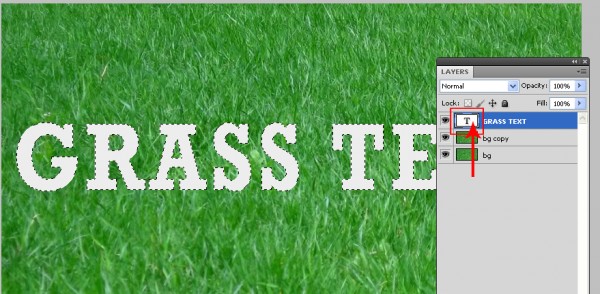
- Here we have two layers of background image. Now what we will do is select the text layer and then make an selection on the layer itself.
- For selection just go into layer palate and hold Ctrl key and click on text layer’s white area as shown in image below.
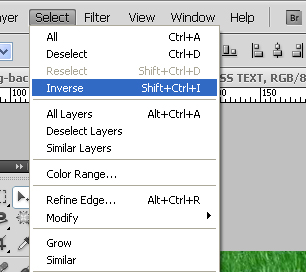
- After making selection on text layer go to Select >>Inverse and then click on it.
- Now select the background copy layer which was below the text layer.
- Now when we click Inverse and select background copy layer.
- Press Delete and deselect the layer. Go to Select >> Deselect the layer selection.
- We have three layers now and we need to hide the text and main background layers.
- For hiding the layer go to layer palate and just click on eye icon of the layer.
- We can see the background grass image cut out in the shape of the text. ( See the image below)
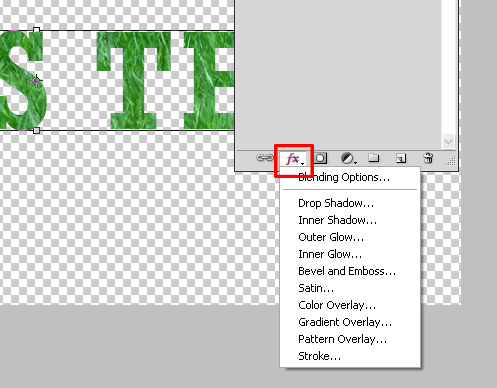
- Now we give more style to the text layer. Goto the layer palate and click style icon at the bottom of the palate. (See the below image)
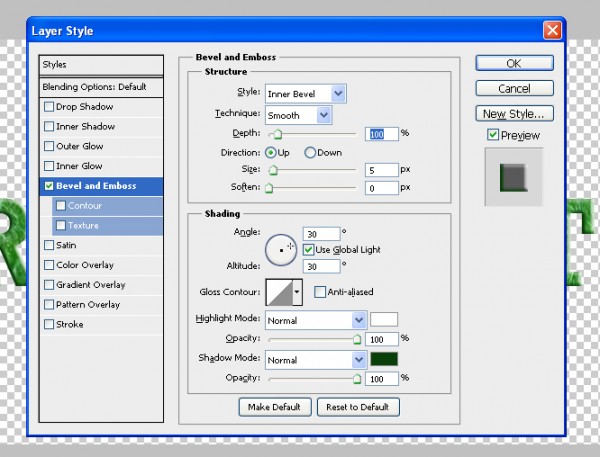
- Click on Bevel and Emboss option and take values like I have in the image below.
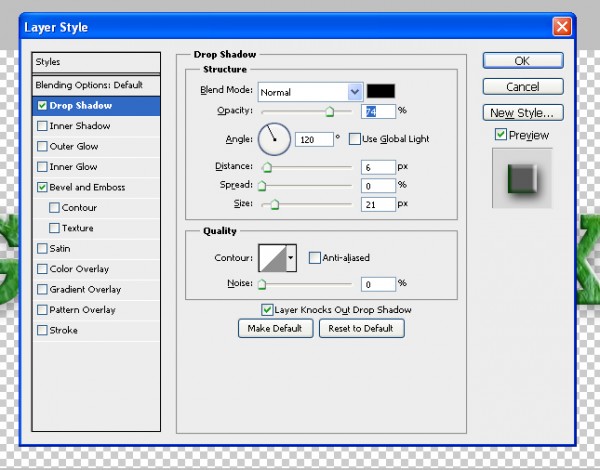
- Then go to the layer style again and select Drop Shadow.
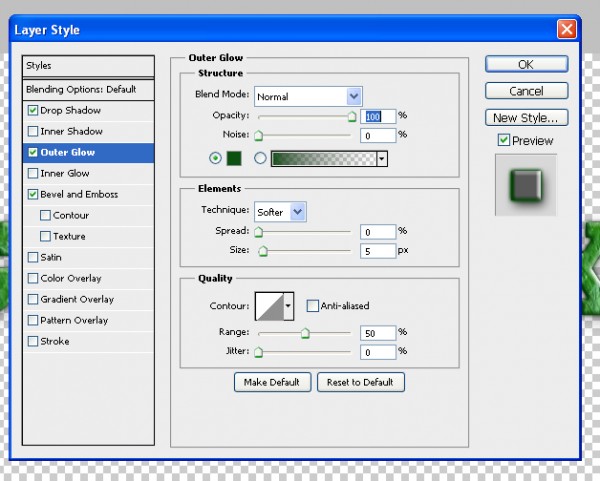
- Now select Outer Glow take values like in image below.
- You are free to create different styles and values as you wish according to the image.
Go to the layer pallet and on the main background layer which was hidden all this while. Here we have our image.
Now we see our final result of Grass Text Effect. Did you like this tutorial? Do drop in your comments and views.




5 Comments
Can i request something?
Can you teach us in your next tutorial how to make the perfect watermark?
There are many a time i post certain images to my website, with many of them being mine originally. These images then get shared from my website but since i don’t know how to make a good watermark, i don’t use it and people never find out the image came from my site (unless of course the other author gives credit to me).
So i want to learn to put watermark so i can ‘own’ the image completely.
(watermark with my logo would be preferred. if you don’t know, then only text will also do.)
Thanks.
Sure………it’s my pleasure that you people like my articles……….i will definitely explain it in my next upcoming post………Thanks..!
bro!!
please let me know how to put my image while backgrounding a wall paper and in my image ,only comes my body?
like in this pic
here is the url
http://picasaweb.google.com/101485100123899821760/UntitledAlbum#5521208855467968738
nice tutorial..I will try it….
Very nice Tutorial…
Its very interesting…
Thanks.