When I started with WordPress I found that it is better to experiment on a local server. The following tutorial will help you installing WordPress on a local server or your home PC.
Steps to install WordPress on local server:
- Install a local server xampp.
- Download latest WordPress from WordPress.org.
- Extract the files to a new folder in C:xampp htdocs folder and rename it.
- Run localhost in your browser window.
- Create new database (http:localhost/phpmyadmin).
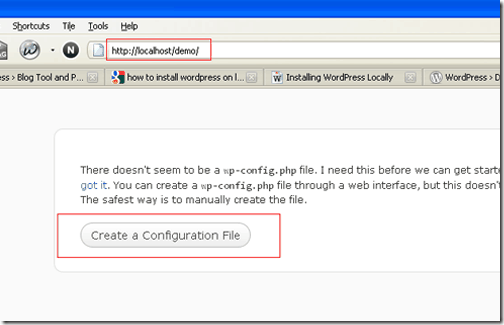
- Run the installation, give path in your browser (http:localhost/demo).
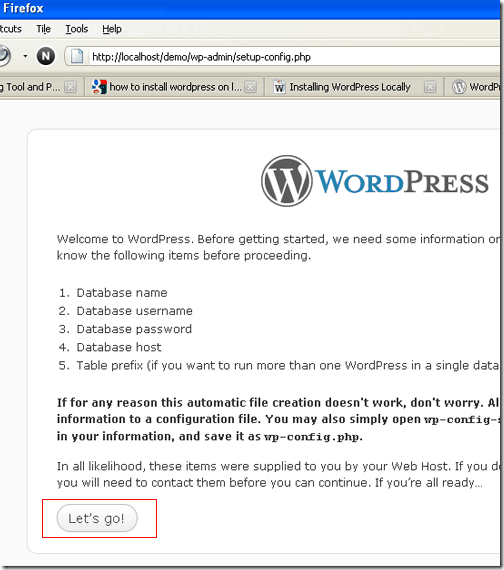
- Follow steps as shown in the image below (click “Let’s go!” button).
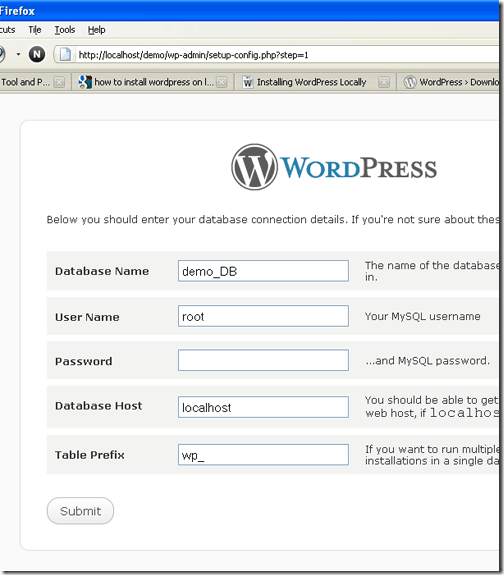
- Fill in the database details. Db name must be similar to one which we have created, no need for password to a local database.
- Click “Run the install“ button.
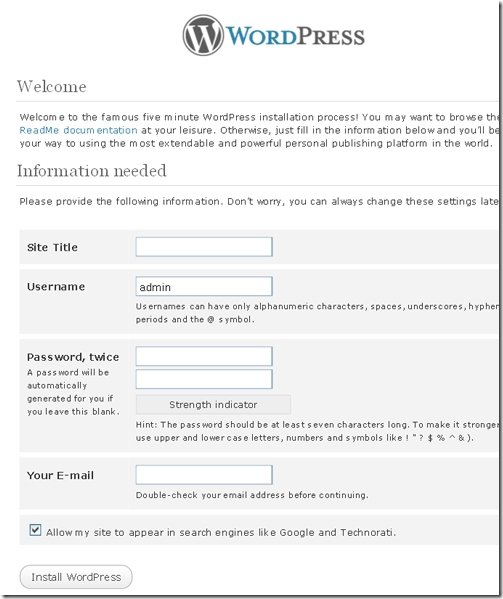
- Fill in the details.
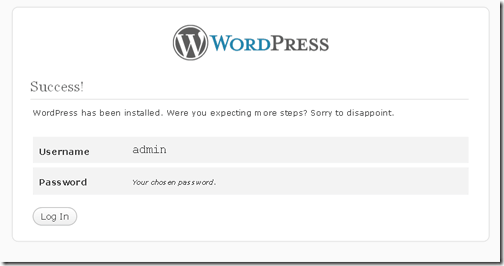
- Installation is complete. Now click “Log In” Button to enter admin dashboard.
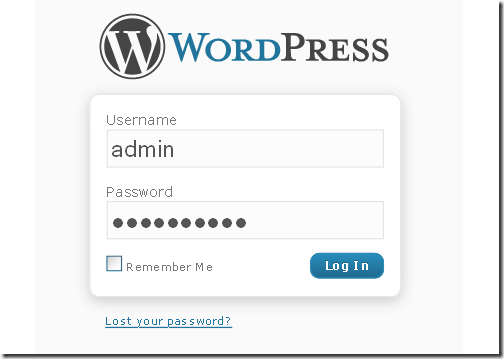
- Enter your User name and Password to open admin dashboard.
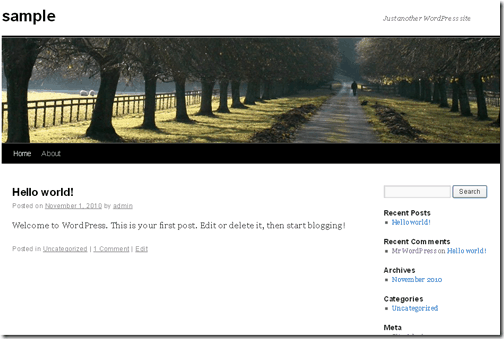
- Click on the top-right link and Preview Your Website.
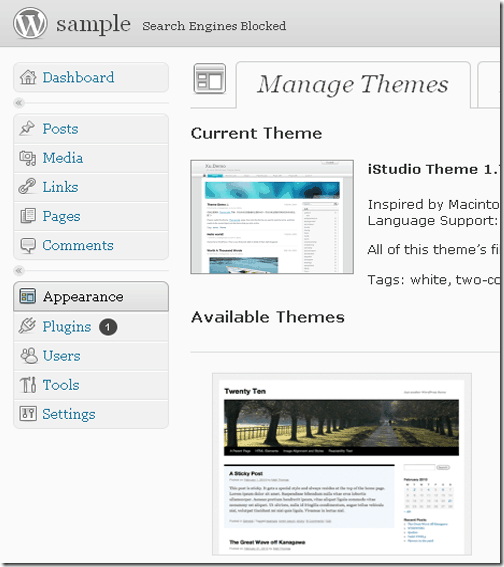
- A default twenty-ten theme is activated.
This way you can you start playing around with WordPress software, test plugins and themes on your computer itself without the need to set up test servers. Installing WordPress locally is a starting point for most people who are new to WordPress.


2 Comments
Hi! I have a question. I installed WP in C:\xampp\htdocs and created the database in phpmyadmin. It works fine. Now from within wordpress admin (localhost/demo/wp-admin/theme-install.php) I uploaded a theme I had made with artisteer and that works fine. The theme is now in its own folder in C:\xampp\htdocs\demo\wp-content\themes\. BUT when I go into Netbeans (demo – source files\wp-content\themes\) – I do not see my theme – I only see the defaults twenty11 and 10. What am I missing? Can you help?