Watermarks are images or text used by people to protect their work from plagiarism. If you want to add watermarks to your documents, Microsoft Word is the best option for you. As it allows you to add either text or image to secure your personal documents.
I will be using Microsoft Word 2007 for this guide but it will also work on Word 2010.
So, let’s begin:
- Open Microsoft Word document on which you want to add watermark and navigate to Page Layout > Watermark.

- Open Watermark options and there you will see some samples of different types of watermarks you can add.
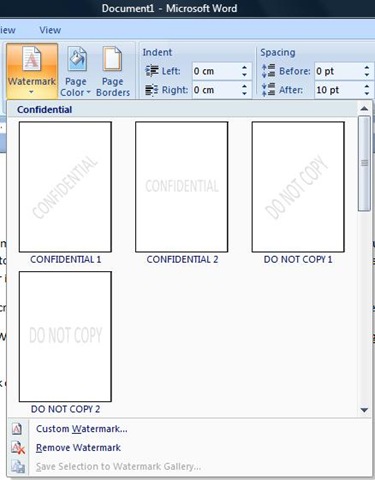
- Select the one which you want to apply and it will add the text shown in the sample to your documents. It will look something like this:

Microsoft Word also enables users to add custom watermarks, texts or company logos in the documents as well.
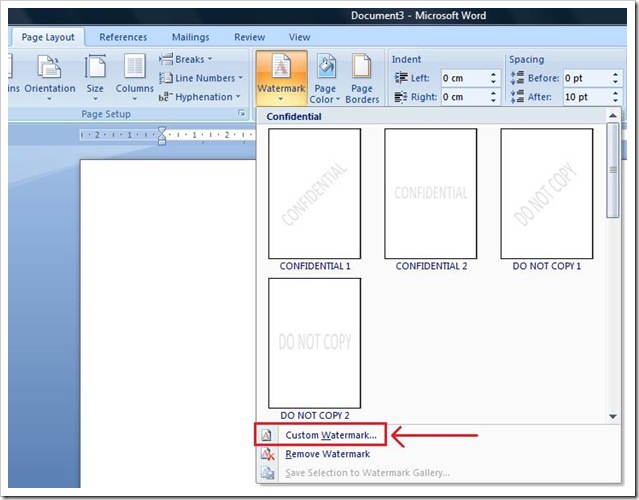
- To add custom watermak, go to Page Layout > Watermarks > Custom Watermark.
- It will show you Watermark Options. To add a text watermark, select text watermark and fill in the details and click Apply.

- It will look something like this:

- Now, if you want to add a picture watermark, follow step 5 again. And instead of selecting text watermark, select Picture Watermark.
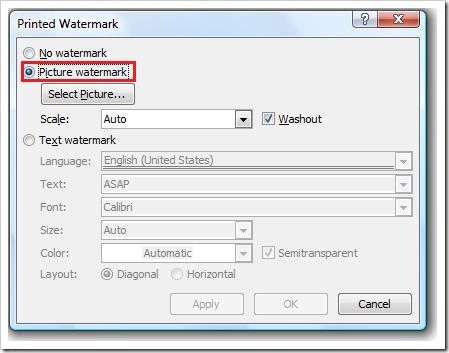
- Click on Select Picture and browse the file which you want to use as watermark.
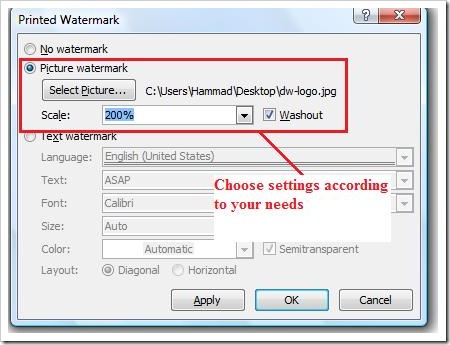
- Click Apply and you are done.

Note: You can use this guide in Microsoft Word 2010 as well.
3 Comments
Nice Tutorial, Thnx for the share….
Nice information . Is there any option to add arrows , like the curved one , where we can point at things .
try going to Insert > Shapes and see if thats what you are looking for. there are different types of arrows which u can use