In this tutorial we will see how to create the Speed Effect with using Motion Blur Filter. The image is two parts where the motorcycle has been overlapped on the background.
#1. First take the Images
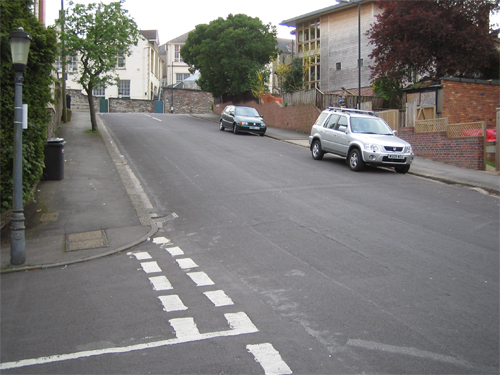
For this tutorial we need image of car or bike and another one should be on any road or any natural settings.
I decided to go with the image below. 😉
#2.Cut out the Bike Image
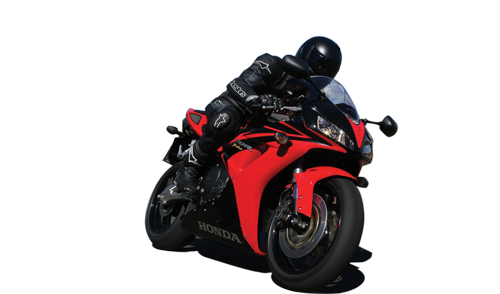
Cut out the bike image. You can cut it with the Pen tool.
Now the image looks like the one below.
#3.Drag the Bike Image
Now open the second image. Then drag the Bike Image on Road image. This way we have two images in the file.
#4.Here we go for our Speed Effect
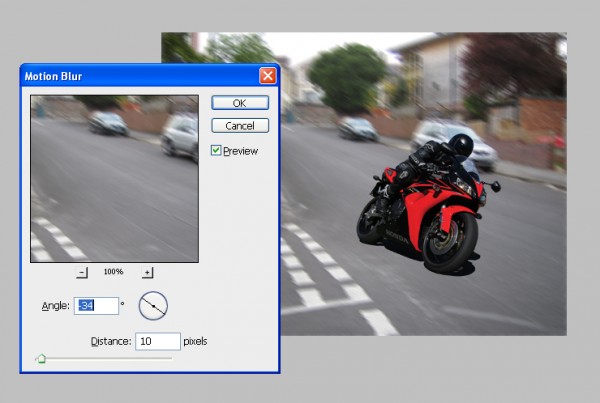
Now lets go for our Speed Effect. Select the Layer of Road picture image and go to Filter> Blur> Motion Blur.
Now you can see this palate. Keep your Angle Value -34, Distance 10px for this one and click OK.
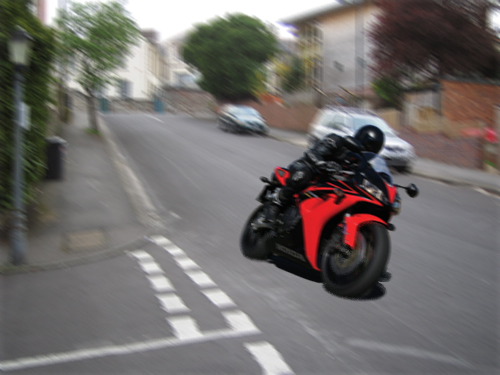
You are free to change Angle Value and also Distance value as per your picture’s specifications. At the end of it we get a effect like in the image below.
Then select the Bike image layer and go to Filter> Blur> Motion Blur keep Angle value -34, Distance 4px, after that make the selection around the wheels of Bike and go to Filter> Blur> Radial Blur keep your Amount value – 8, Blur Method – Spin, Quality – Good. Click OK. 🙂
Here we have got our Speed Effect with simply 2-3 steps. It’s take hardly took me ten minutes.
Hope you people enjoyed this tip. If you liked reading this post you might want to check out
- How to create image reflection in Photoshop?
- How to create solid color box more effectively using filters in Photoshop?
Do drop in your views, suggestions and opinions through your comments.


13 Comments
you need to spent some more time with the shadow of the bike. and Blur is too much,Apply some Physics.
Over all Its good bro. 🙂
thanks for comment…..next time i keep it in mind……!
Hey Umesh Great Post 🙂
thanks…dude!
nicely explained
thanks……..!
Nice tip. This post is really helpful for Photoshop students.
thanks….!
That is a well explained tutorial. I needed this very much.
Good job! Easy to learn instructions 🙂 What about for the bike size to match the surroundings? Will the scale just depend on the way you look at the photo?
nice 1 man..
Thank u sir….
i read your all post it’s very nice…
its’ really helpful…
Thanks again…
good tutorial.