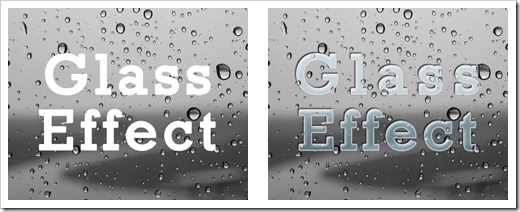
In this tutorial, we are going to learn how to apply blending styles on simple text, for converting it into a glass effect using Photoshop.
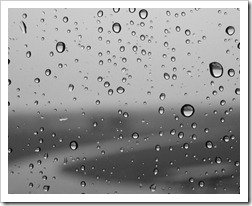
- Create a new file of size 500 x 400 pixels, and select a background image similar to the image shown below, as it is more effective than solid or any other types of images.
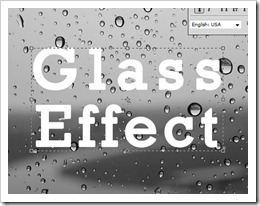
- Now create a text layer, and write your text (Press shortcut key T to create a new text layer).
- You can select font size and font family of your choice, I have used Rockwell as a font family and set it to font-size 120px.
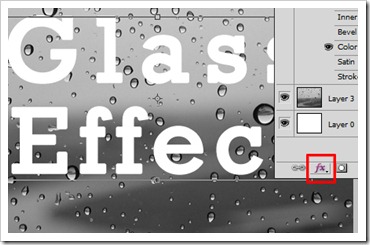
- As you can see in the image below, there is an option for blending in the layer palette. Select it to apply styles to your text.
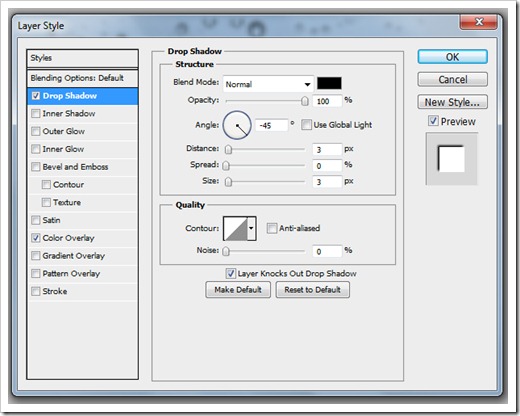
- We will select 5 different styles to get the desired effect. Refer to the parameters exactly as shown in the 5 images below. We start with the Drop Shadow.
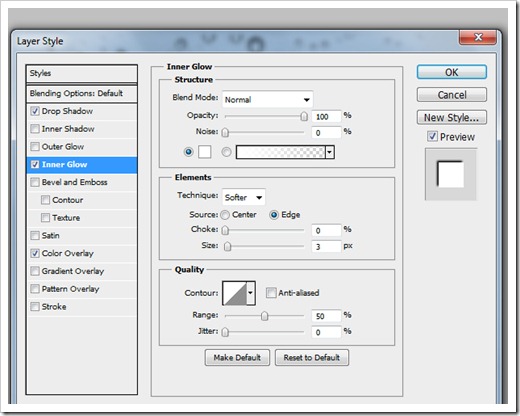
- Now set the Inner Glow style as shown in the image below.
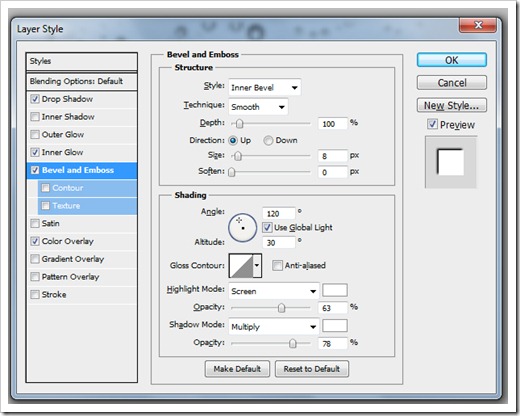
- Set the parameters for Bevel and Emboss.
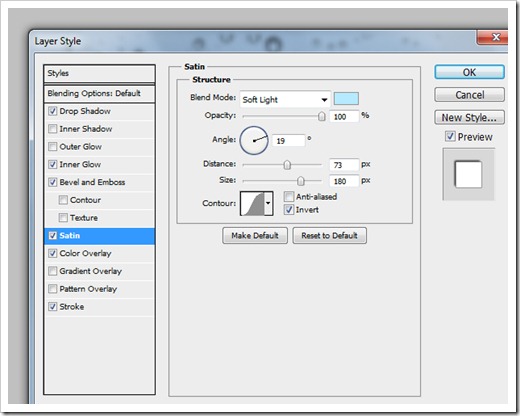
- Set Satin as shown in the image.
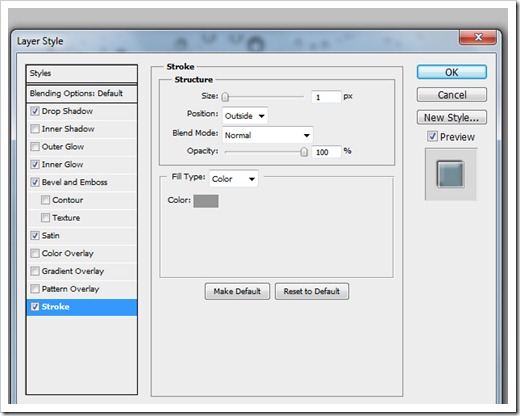
- Set Stroke of size 1, and set the color #959595.
- After applying the above blending styles, it should look something like this. Now you are just a step away.
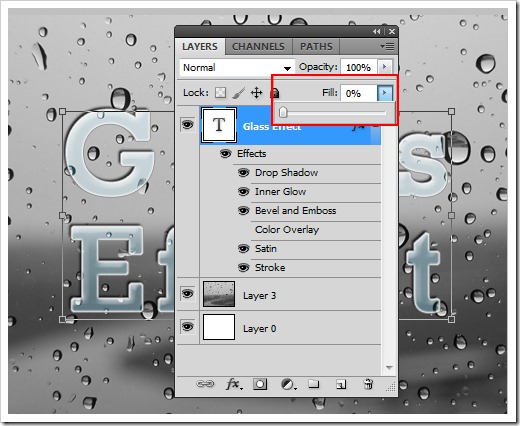
- On reducing the fill value to ‘0’ from your layer palate you are done with the glass effect!
- As we have only applied blending styles to the text, we can change the text as desired.
Final Image
Do drop in your comments.


2 Comments
That was good tip buddy .Thanks 😉
That was easy and pretty quick 🙂